Change from product A to B
Account for the old parts and labels, select the new record and check the first accepted pack. Record the changeover time and any held packs.

PRE-OPENED BAGGING · LABEL WORKFLOW
A readable barcode can still belong to the wrong product. Before ordering a bagger with a label printer, agree how product selection, label printing, application and pack release stay matched during a changeover or reprint.
This guide is for small-parts and accessory packing with pre-opened bags and self-adhesive labels. It focuses on job changes, interrupted work and replacement labels. It does not assume automatic label application, an installed scanner or a ready-made warehouse-system connection.
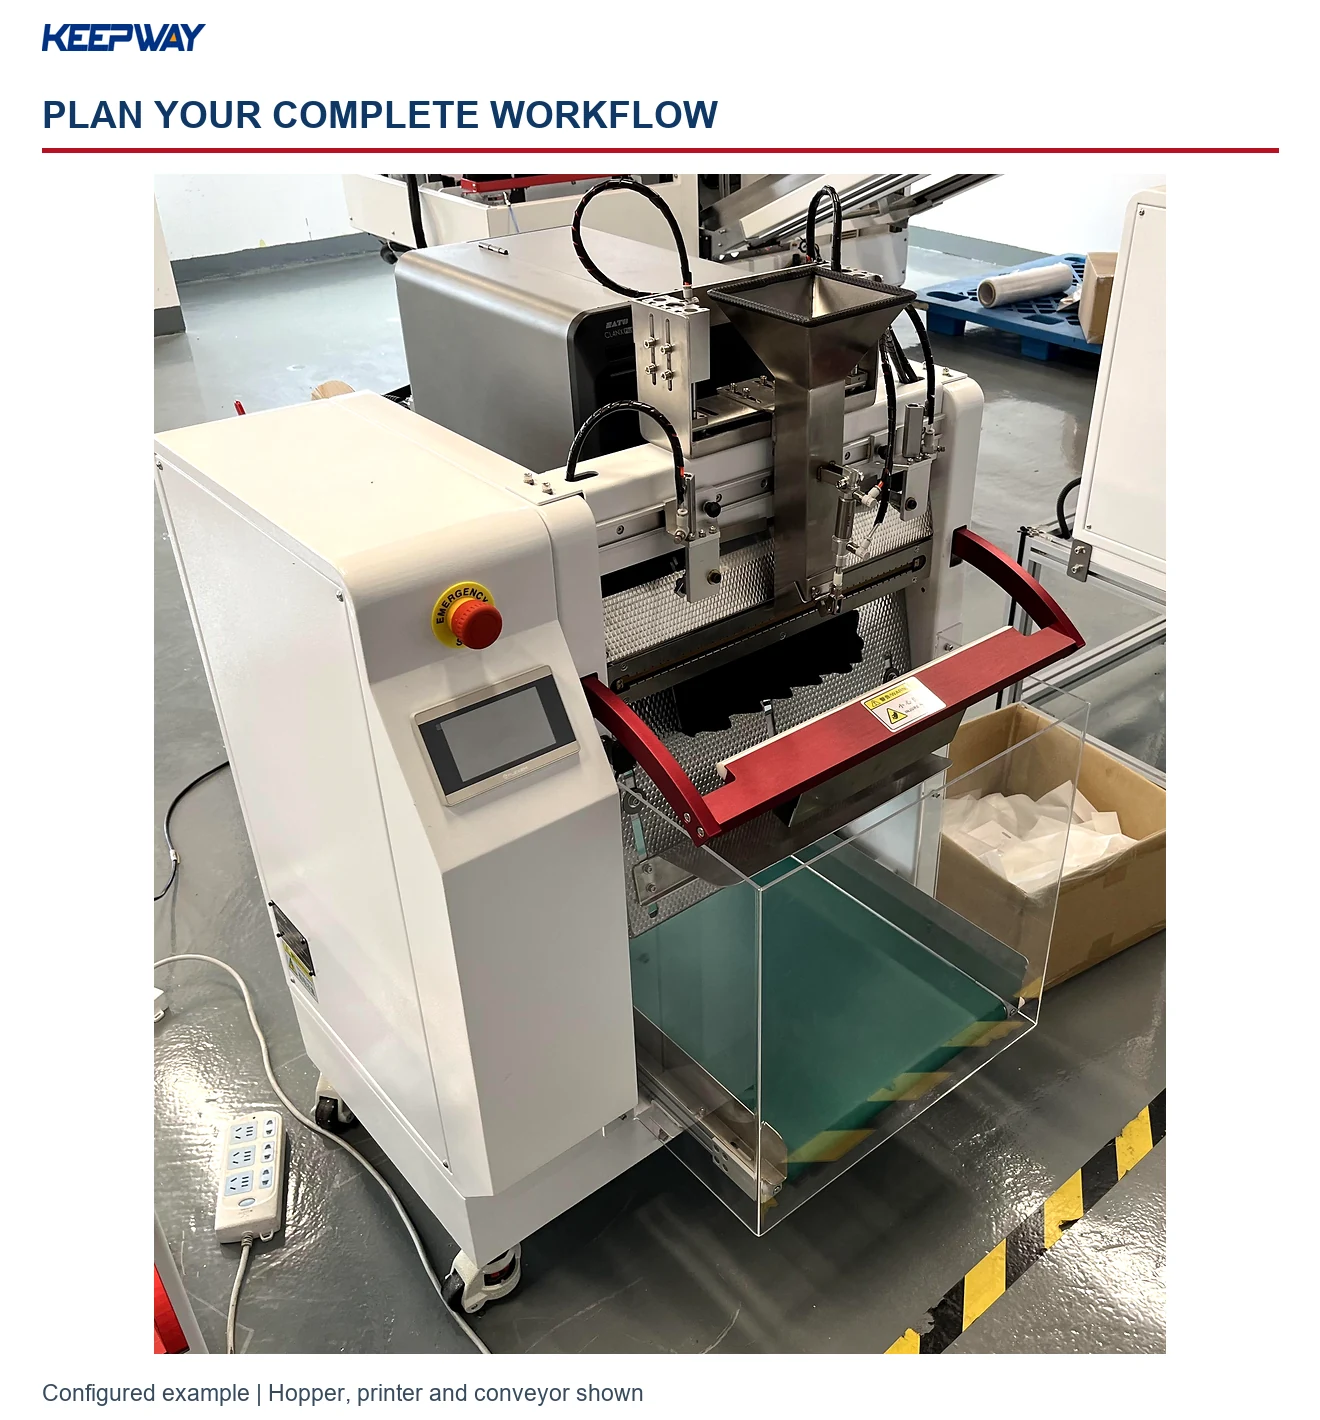
Keepway TR models print adhesive labels; the application method is configured separately. Define whether an operator applies each label or an application module is included. Put that responsibility in the quotation alongside loading, sealing and collection.
Choose a record that identifies the product, quantity per bag, artwork revision and variable fields such as a batch reference. Identify which person or system may select and release that record. Agree where the product code comes from and how the operator checks it against the physical parts.
Use anonymized examples for the technical discussion. A printer's USB, LAN or RS-232 connection describes an interface, not a completed data integration. List any required software, data mapping, scanner, validation logic and responsibility for implementation separately.
Define a changeover point between the last accepted pack of product A and the first accepted pack of product B. Account for loose parts, unused printed labels, packs waiting for a label and any print jobs still queued. Move unresolved packs to a marked hold area under your operating procedure.
For the new job, compare the selected record with the parts and the approved label. Inspect the first filled, labeled pack before releasing the batch. Agree who performs and records this check. These are proposed workflow controls to review during a trial; they are not a claim that the base machine automatically enforces them.
A continuous run of one product does not show what happens when the workflow is interrupted. Agree representative scenarios and the acceptance criteria before the demonstration:
Account for the old parts and labels, select the new record and check the first accepted pack. Record the changeover time and any held packs.
Identify the last completed pack and the next record to use. Confirm the resume procedure without assuming the print queue and bag count remain synchronized.
Identify the affected pack, control the replacement request and account for the rejected label. Avoid releasing both an original and a replacement as two accepted packs.
Keep its label or print record associated with the exception. Decide whether repacking, relabeling or disposal is required before returning it to normal production.
If restart recovery is important, request a supervised demonstration following the machine and printer instructions. Agree what happens to queued records and unfinished packs. Do not improvise a power interruption as an operating test.
Review the artwork at its intended scale, including text, barcode and clear areas around the symbol. Then inspect the applied label on a filled bag for folds, wrinkles or positioning that obstructs reading. Record the label material, application method and receiving scanner used in the trial.
A successful read with one scanner is useful operational evidence, but it is not the same as a formal barcode verification report. GS1 Ireland explains verification in terms of print quality, symbol dimensions, placement and encoded data, and requests samples in their finished form. If your buyer requires a particular verification method or result, include that requirement before approving the label. Printer resolution alone does not establish acceptance.
The supplied Keepway specifications identify these starting configurations. The print area is not the label-roll limit or a guarantee that every layout fits.
KPW-A8-2TR: 60–200 mm bag width; listed label print area 53 × 125 mm.
KPW-A12-2TR: 60–300 mm bag width; listed label print area 53 × 125 mm.
KPW-A12-4TR: 60–300 mm bag width; listed label print area 107 × 250 mm.
All three list 300 dpi printing and a reference output of 20 bags/min. Confirm the actual bag, loading and label-handling cycle with samples. When comparing quotations, measure accepted, correctly identified packs over the same agreed period, including the changeovers and exceptions relevant to your operation.
Then agree the data connection, optional equipment, target accepted output and a trial record covering normal work and exceptions. Use the downloadable bagging label changeover brief to keep the configuration and responsibilities together.
Request a configuration review Compare complete bagging workflows