
KEEPWAY · LABELING APPLICATION REVIEW
Bottle Labels Lifting or Wrinkling? Plan a Sample Trial Before Buying a Labeling Machine
A label can be placed in the right position and still lift at its edges later. Separate placement, bottle geometry and material adhesion when approving a bottle labeling application.
Start with the symptom and when it appears
Before requesting a different machine setting, photograph the whole bottle and the affected label area. Note whether the problem appears during application, after packing or after storage. Keep samples from an acceptable run as well as the failed run, and identify the bottle and label batches. This helps the machine supplier and label converter investigate the same problem.
| Observed symptom | Evidence to collect | What to review |
|---|---|---|
| Label position changes between bottles | Front and side views, bottle orientation, spacing and a short run video | Container variation, handling, guides, detection and application setup |
| Wrinkles appear at a shoulder, taper or recess | Marked label outline on the bottle drawing and close-up photographs | Label shape and contact area, container geometry, material flexibility and application method |
| Edges lift immediately or later | Time of first observation, bottle surface condition, label material reference and storage conditions | Adhesive and facestock suitability, surface preparation, contact and application conditions |
| Clear labels show bubbles or an uneven appearance | Photos under consistent lighting, label construction and actual bottle samples | Agreed appearance standard, surface condition, material and application setup |
Do not treat these observations as proof of a single cause. A machine adjustment, label redesign or material change should be evaluated against the recorded samples and conditions.
Use the real bottle, not just its nominal diameter
For a round bottle, identify the cylindrical label panel and any taper, seam, texture or change in diameter near the proposed label edges. For flat or shaped containers, mark the intended front and back contact areas. Include the filled and capped condition used during production if it affects the container's shape or handling.
HERMA's wrap-around labeling guidance explains why small radii require suitable material flexibility and adhesion. That material guidance is a reason to evaluate the actual label construction; it does not establish the capability of a particular Keepway configuration.
If the artwork crosses a shoulder or recessed area, send that drawing before ordering production labels. Do not assume a rectangular label will conform to every curved surface simply because its dimensions fall within a machine's label-size range.
Document the surface and the conditions at application
Record bottle material, finish, whether the surface is dry, and any relevant cleaning or filling step before labeling. Identify the application and storage conditions for the label supplier. Avoid substituting a dry room-temperature demonstration for a process that presents cold or damp containers without documenting that difference.
Avery Dennison's technical discussion of condensed container surfaces describes how moisture can affect adhesion. The source concerns a specific application; it is not evidence that a Keepway machine or any generic adhesive is approved for wet bottles. Ask the label supplier to confirm the intended construction and test conditions for your product.
Keep placement acceptance and adhesion acceptance separate
The machine trial should show label feeding, detection, bottle handling and application using representative production materials. Agree acceptable position, orientation and appearance before the trial. Record actual accepted containers and interruptions when checking output; do not approve production output from a machine-cycle figure alone.
Also agree with the label supplier when and how adhesion will be assessed after application. Record immediate observations and any later checks required for the intended storage and handling. A short video of a newly applied label cannot establish performance throughout the intended service conditions. No universal waiting time, peel-force target or pass rate is assumed here.
Prepare one sample record for both suppliers
Download the blank bottle-and-label trial brief
Container
Product code; material and finish; dimensioned drawing; label contact area; filled condition; bottle batch; photographs of seams, taper and recesses.
Label
Artwork revision; dimensions and shape; facestock, adhesive and liner references; label batch; roll drawing; sample quantity agreed with the suppliers.
Trial conditions
Machine model and included options; feeding arrangement; surface condition; relevant application environment; settings; observation window and accepted output.
Acceptance
Agreed position and appearance limits; immediate result; later material checks and timing; rejected examples; unresolved differences from production; responsible reviewer.
When comparing alternatives, identify each change. If both the adhesive and bottle handling change at once, a better result does not show which change solved the issue. Retain the approved samples and references with the order. Use the separate label roll specification checklist for web direction, reel, core, liner and detection details.
Choose the equipment path after defining the label area
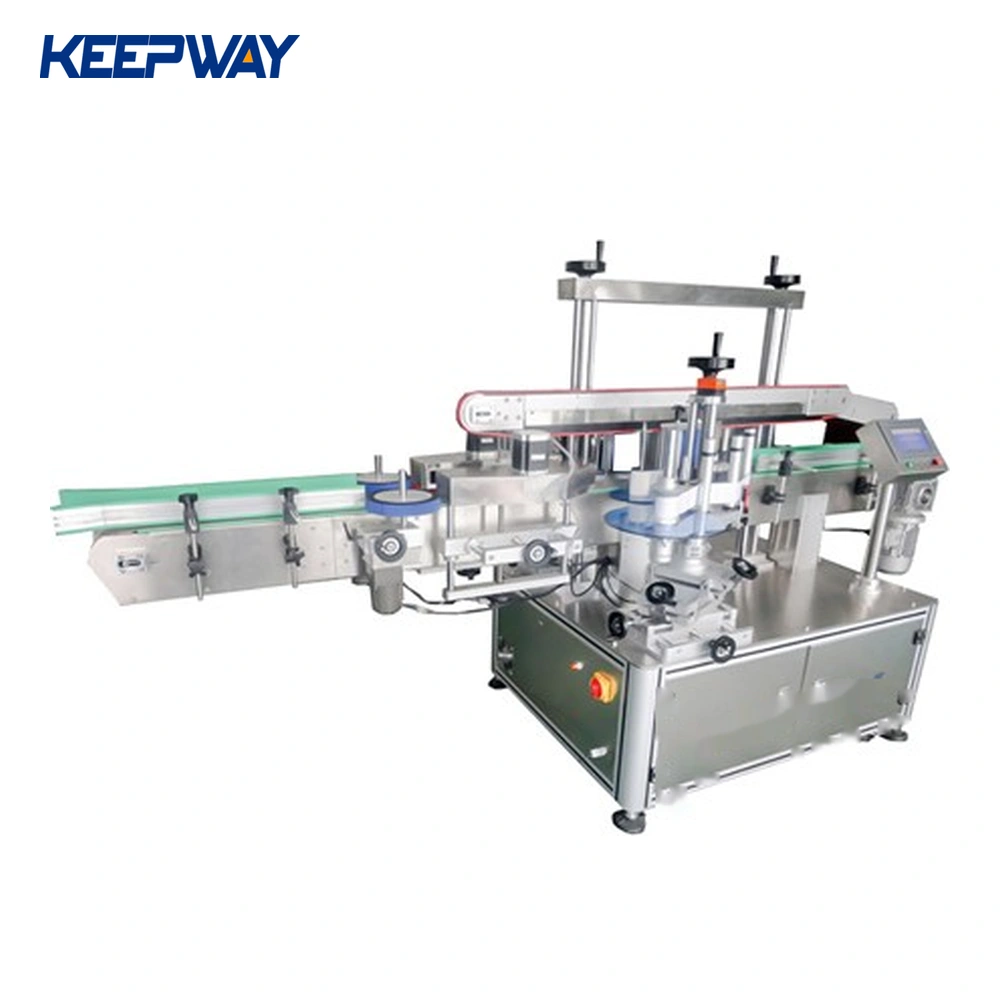
For front-and-back or side-labeling applications, review the KPW-BC180 side labeling machine with the actual container and artwork. For cylindrical bottle applications, compare the standard KPW-ZY120 round bottle labeling machine. The product pages describe different configurations; they are starting points for sample review, not interchangeable approvals for every bottle shape.
Ask for printing, special positioning, feeding and collection to be identified separately as included or optional. A label applicator does not by itself establish that label printing, material selection or unattended line handling is included.
Send a focused application brief
Start with a bottle photo and drawing, a marked label area, the label material reference, and photos showing when and where the defect occurs. Add the filled condition, required output and destination power supply. If you have not selected a label supplier, say which material details are still open so they can be resolved before the production order.
Review my bottle and label samples Discuss a round bottle application